Resin 3D Printer Vat Cleaning Settings: Complete Guide
Optimal exposure times, step-by-step cleaning, recommended products, and troubleshooting for FEP film care.
Compare prices & save today
Sort by $/kg, filter by PLA, PETG, ABS. Real prices from Amazon, Ebay & AliExpress and manufacturer stores—find the cheapest filament in seconds.
CompareWelcome back, 3D printing enthusiasts! If you've dipped your toes into resin printing, you know it's a fantastic way to achieve crisp, detailed models—but keeping your printer happy requires some TLC. This week, we're diving headfirst into vat cleaning, an often-overlooked yet crucial part of resin 3D printer maintenance. Whether you're a seasoned pro or just getting started, understanding how and when to clean your vat will save you time, resin, and headaches down the road.
So grab your nitrile gloves and your isopropyl alcohol—let's get into what vat cleaning really means, why it matters, and how to nail the settings for your particular printer.
What Is Vat Cleaning and Why Should You Care?
At its core, vat cleaning is a nifty automated feature baked into most resin 3D printers that uses UV light to cure a thin, solid layer of resin across the entire LCD screen inside your vat. Think of it like a quick snapshot freeze to trap any stray debris, failed print bits, and tiny particles floating around. This layer pulls these imperfections out of the resin and off the delicate FEP film at the bottom of your vat.
Why is this so important? Without regular cleaning, these little troublemakers can scratch or puncture your FEP film—an expensive part that's soberingly easy to damage. That's not all: debris can also cause print failures, contamination, and frustrating print quality drops. Keeping that vat clean keeps your prints consistent and your wallet happier.
Getting Your Vat Cleaning Settings Right
Not all printers are created equal, which means vat cleaning exposure times vary depending on your printer's screen technology and size. Here's a quick rundown of optimal cleaning exposure times based on printer type:
| Printer Type | Exposure Time | Best For |
|---|---|---|
| Standard LCD | 30–60 seconds | Elegoo Mars, Anycubic Photon |
| Mono LCD (MSLA) | 20–40 seconds | Saturn, Mars 3 |
| DLP Printers | 15–30 seconds | Most efficient UV projection |
| Large Format 8K+ | 40–60 seconds | Larger build plates need longer UV exposure |
How to Clean Your Vat Step-by-Step
Here's a simple routine to get the job done efficiently and safely:
- Prepare your workspace: Gloves on, well-ventilated area, build plate removed.
- Create a handle (optional): Drop a small scrap of cured resin or a bit of wadded glove in one corner of the vat to help peel the cleaning layer later.
- Access the vat cleaning function: Navigate your printer menu to TOOLS → VAT CLEANING or MAINTENANCE → RESIN VAT CLEANING.
- Set exposure time: Enter 30–40 seconds for standard resins; adjust based on screen tech.
- Wait for completion: Your printer will beep. The layer should be firm but flexible.
- Pour excess resin back: Tilt the vat slowly and filter the resin through a fine mesh filter back into the bottle.
- Remove the cleaning layer: Grab its edge and peel it off in one smooth motion—debris and residues go with it.
- Clean with IPA: Spray 95%+ isopropyl alcohol on the FEP film and gently wipe with lint-free cloth or paper towel.
- Inspect FEP film: Hold it up to light looking for scratches, holes, or cloudiness.
- Dispose properly: Cure the cleaning layer under UV or sunlight 10–15 minutes and toss with regular plastic waste.
When Should You Clean Your Vat?
Timing is everything. Here are smart rules of thumb:
Always clean after:
- Any failed print, print detachment, or when you spot debris floating
- Before switching resin types or brands
- After three or more days of printer inactivity
For preventive care, consider cleaning every 5–10 successful prints or before important prints.
Comparing Cleaning Methods: Auto Versus Manual
Automatic Vat Cleaning
Pros: Fast and convenient—usually a quick 5 minutes, no mess, and clear of most debris. Uses a small bit of resin but keeps everything nicely contained inside your vat.
Cons: Uses a small amount of resin; not all printers have this feature.
Manual Drainage
Pros: More thorough, involves tipping out and filtering resin, lets you inspect your FEP film up-close.
Cons: Messier, longer (15–20 minutes), and risks damaging the FEP if you're too rough.
In most cases, a combination of both methods works best: use auto cleaning regularly and manual cleaning when you feel your prints look off or after changing resin types.
Tools and Supplies That Make Cleaning Easier
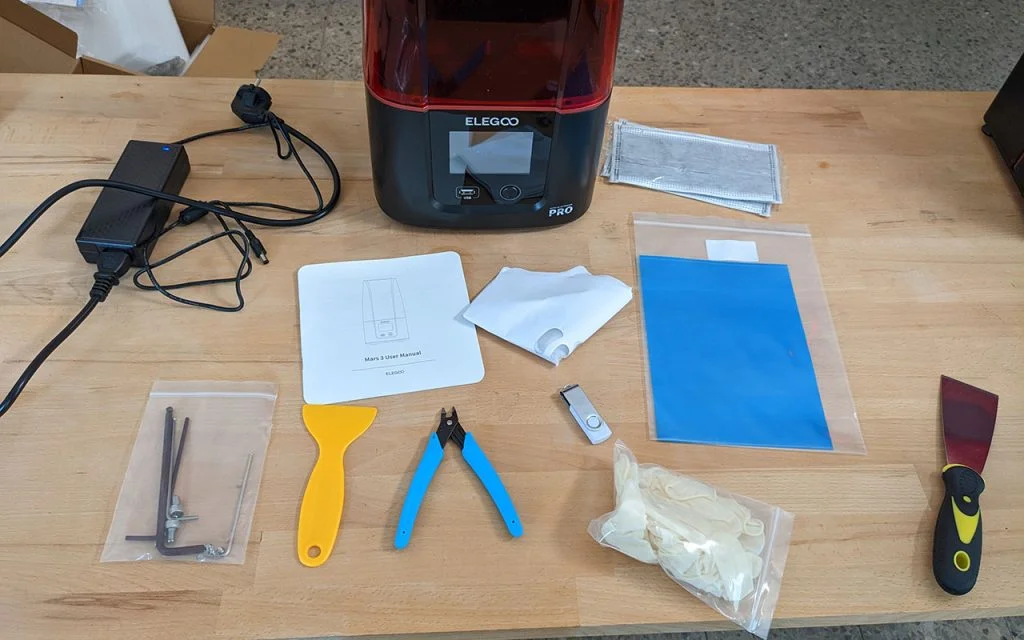
If you're stocking up, these are the kinds of things that help: resin for the cleaning layer, high-purity IPA, spare FEP film, and fine mesh filters for reclaiming resin.
- ELEGOO Standard Resin (1 kg) (link) — Good for general printing and vat cleaning, low odor, 405nm.
- MaxTite Isopropyl Alcohol 99.9% (link) — For FEP cleaning and print washing; high purity, fast evaporation.
- KOYOFEI FEP film (ELEGOO Mars / Photon Mono) (link) — Handy to keep spares; 95% light transmittance, 0.15mm.
- Fine mesh resin filters (e.g. 125µm nylon) (link) — For filtering resin when you pour it back into the bottle.
Troubleshooting Vat Cleaning Issues
- Cleaning layer too thin: Try increasing exposure by 10–15 seconds and make sure your resin is fresh and at a stable room temperature (~20–25°C).
- Cleaning layer too thick: Cut back exposure and give IPA a quick spray before peeling to soften the layer.
- Debris sticking stubbornly: Spray IPA on the FEP underside, wait a bit, then gently nudge it off—never use metal tools or force!
- FEP film cloudy: Give it a thorough cleaning with 95%+ IPA and a microfiber cloth. Persistent cloudiness or visible damage means it's time to swap that film out.
Best Practices Checklist
✓ Do this
- Wear nitrile gloves whenever handling resin
- Use 95%+ IPA only for cleaning
- Filter your resin every time you pour it back
- Inspect FEP regularly and don't ignore damage
- Clean the vat after every failed print
- Keep spare FEP films handy
- Work in well-ventilated areas
- Cure all waste resin before disposal
✗ Never do this
- Use metal tools on your FEP
- Pour uncured resin down the drain
- Use latex gloves
- Force or scrape the FEP—treat it gently!
FAQs at a Glance
- How often to clean?
- After every failed print, preventive cleaning every 5–10 prints, deep clean if switching resins or after downtime.
- Can resin be reused?
- Yes, but always filter before returning it to the bottle.
- Remove the build plate?
- Always—to ensure a proper cleaning layer and avoid wasted resin.
- Best IPA concentration?
- 95%+ for efficiency, low residue, and fast drying.
- When to replace FEP?
- Visible holes, deep scratches, permanent cloudiness, resin leaks or sagging.
Wrapping It Up
Proper vat cleaning might seem like a small detail, but it's one of the best ways to extend your FEP film's lifespan, improve print quality, and reduce resin waste. Spend just a few minutes post-print tidying your vat and you'll thank yourself next time your models come out flawlessly.
Start with those 30–40 seconds exposure settings, adapt as needed, clean often, and inspect carefully. Your 3D printer will run smoother, your prints will be cleaner, and your crafting joy will only grow.
Next week, we'll explore tips for mastering resin post-processing—think washing, curing, and finishing tricks that'll make your prints truly pop. Until then, happy printing and keep those vats sparkling!
Stop overpaying for 3D filament!
Compare brands and save today. Our tool shows real prices from Amazon, Ebay, AliExpress and manufacturer stores.
Compare brands & save today